Quality Guaranteed
2-Year Warranty on All Panels
2-Year Warranty on All Panels
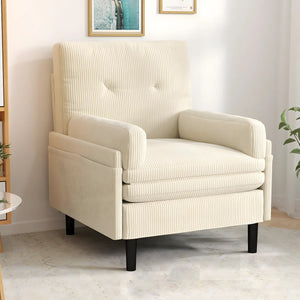
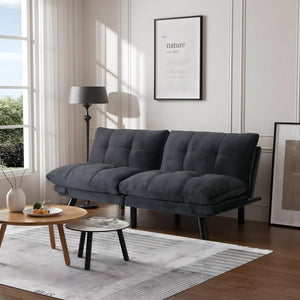
Wood wall paneling can instantly elevate the aesthetic of any room, offering timeless beauty, warmth, and texture. Unlike many luxury home decor products, wood wall panels are surprisingly affordable and, with the right guidance, easy to install. Whether you’re a DIY enthusiast or a novice, wood wall paneling is an excellent way to transform a space without breaking the bank.
At Unisoar, we’re here to help you bring your vision to life with our premium range of wood wall panels. In this guide, we’ll walk you through everything you need to know to achieve a professional finish with minimal hassle.
Wood wall panels not only bring natural beauty into your home, but they also provide insulation, durability, and versatility. Whether you're looking to add a rustic charm, a modern touch, or a sophisticated look, our wood paneling is available in various colors and finishes to suit any design vision. The best part? Installing them is much simpler than you might think, and it doesn't require specialized tools or expertise.
Wood wall panels can be installed on almost any surface, providing great flexibility for your design projects. Here are some of the most common surfaces where wood panels can be successfully installed:
Wood Panels
Brick Walls
Tiles
Drywall
Cement Board
Lath and Plaster
Plywood
Before beginning installation, it's important to ensure that the wall surface is clean, dry, and free from any damage. If there are any loose nails or damaged plaster, those should be repaired to ensure the panels adhere properly.
While the installation process for wood wall panels is straightforward, having the right tools will ensure that the job is done efficiently and professionally. Here's a list of the basic tools you'll need:
Tape Measure
Pencil
Spirit Level
‘No Nails’ Construction Adhesive or Adhesive Gun (depending on product)
Precision Drill
Hammer and 2” Finish Nails or Air Nail Gun
Screwdriver and 2” Finish Screws
Electric Saw or Jigsaw
Before you start installing the wood wall panels, it’s crucial to allow the wood to acclimate to the room’s temperature and humidity. Upon delivery, leave the panels in the room where they will be installed for at least 24-48 hours. This step ensures that the wood will expand or contract as needed, preventing future issues like warping or buckling.
Start by ensuring the wall is clean, dry, and free of debris. Remove any existing nails, screws, trims, or baseboards that could interfere with the installation process. The surface should be as smooth as possible to avoid uneven placement of the panels.
Use a pencil and spirit level to mark a reference line horizontally or vertically at eye level. This line will serve as a guide for aligning the first panel and ensuring that the panels are evenly placed across the wall.
If the panels are too long or need to be adjusted around windows, doors, or outlets, you’ll need to cut them to the appropriate size. You can use a fine-tooth saw or circular saw for cutting, making sure to measure carefully before cutting to avoid wasting material. For more intricate cuts, a jigsaw or handsaw may be required.
To cut the panels, measure the length you need, and mark the cut line with a pencil. Then, cut along the line slowly and steadily to avoid splintering.
For those who prefer a cleaner, more seamless finish, gluing the panels to the wall is a great option.
Step 1: Apply Adhesive
Using a caulk gun, apply construction adhesive or grab adhesive in a zigzag pattern on the back of the panel. Be generous but avoid applying too much, as excess adhesive can seep out once the panel is pressed into place.
Step 2: Press the Panel into Place
Carefully press the panel against the wall, ensuring it’s aligned with the reference line you marked earlier. For extra security, tap the panel gently with a rubber mallet to ensure it’s firmly in place.
Step 3: Continue with the Next Panel
Once the first panel is set, repeat the process for the rest of the panels, ensuring they fit snugly together. You can apply a thin layer of adhesive to the edge of the next panel before attaching it to the previous one.
If you prefer a more secure installation, screwing the panels into place is an excellent choice.
Step 1: Mount the Foundation Battens
If you’re installing acoustic panels or need extra support, you’ll need to install battens (horizontal or vertical wooden strips) on the wall before mounting the panels. This will give you a solid base for attaching the panels securely.
Step 2: Drill Holes for the Screws
Using a drill, create holes in the panels and through the battens at regular intervals. Space the screws about 8 inches apart to ensure the panels are secure.
Step 3: Mount the Panels
Align the panel with the reference line and screw the panels into place, ensuring they are level and flush against the wall. Use 2” finish screws for this step, drilling them through the panel and into the battens.
For installations around outlets, windows, or doors, you will need to make precise cut-outs. Here’s how:
Mark the Area: Use chalk to outline the space around the fixture.
Cut the Panel: Drill holes in the corners and use a jigsaw or handsaw to carefully cut out the space. If the cuts are for an outlet or light switch, be sure to leave about 0.74” of extra space for a clean fit.
Install the Panel: Fit the panel into place, ensuring it aligns perfectly with the surrounding features.
If you’re installing a new TV or dealing with unsightly wires, there are a few ways to hide them:
Behind the Panel: If you're wall-mounting a TV, create a small hole behind the wall for the wires to pass through.
Use a Wire Concealment Kit: For a more seamless finish, you can conceal the wires behind a wooden frame that matches your wall panels.
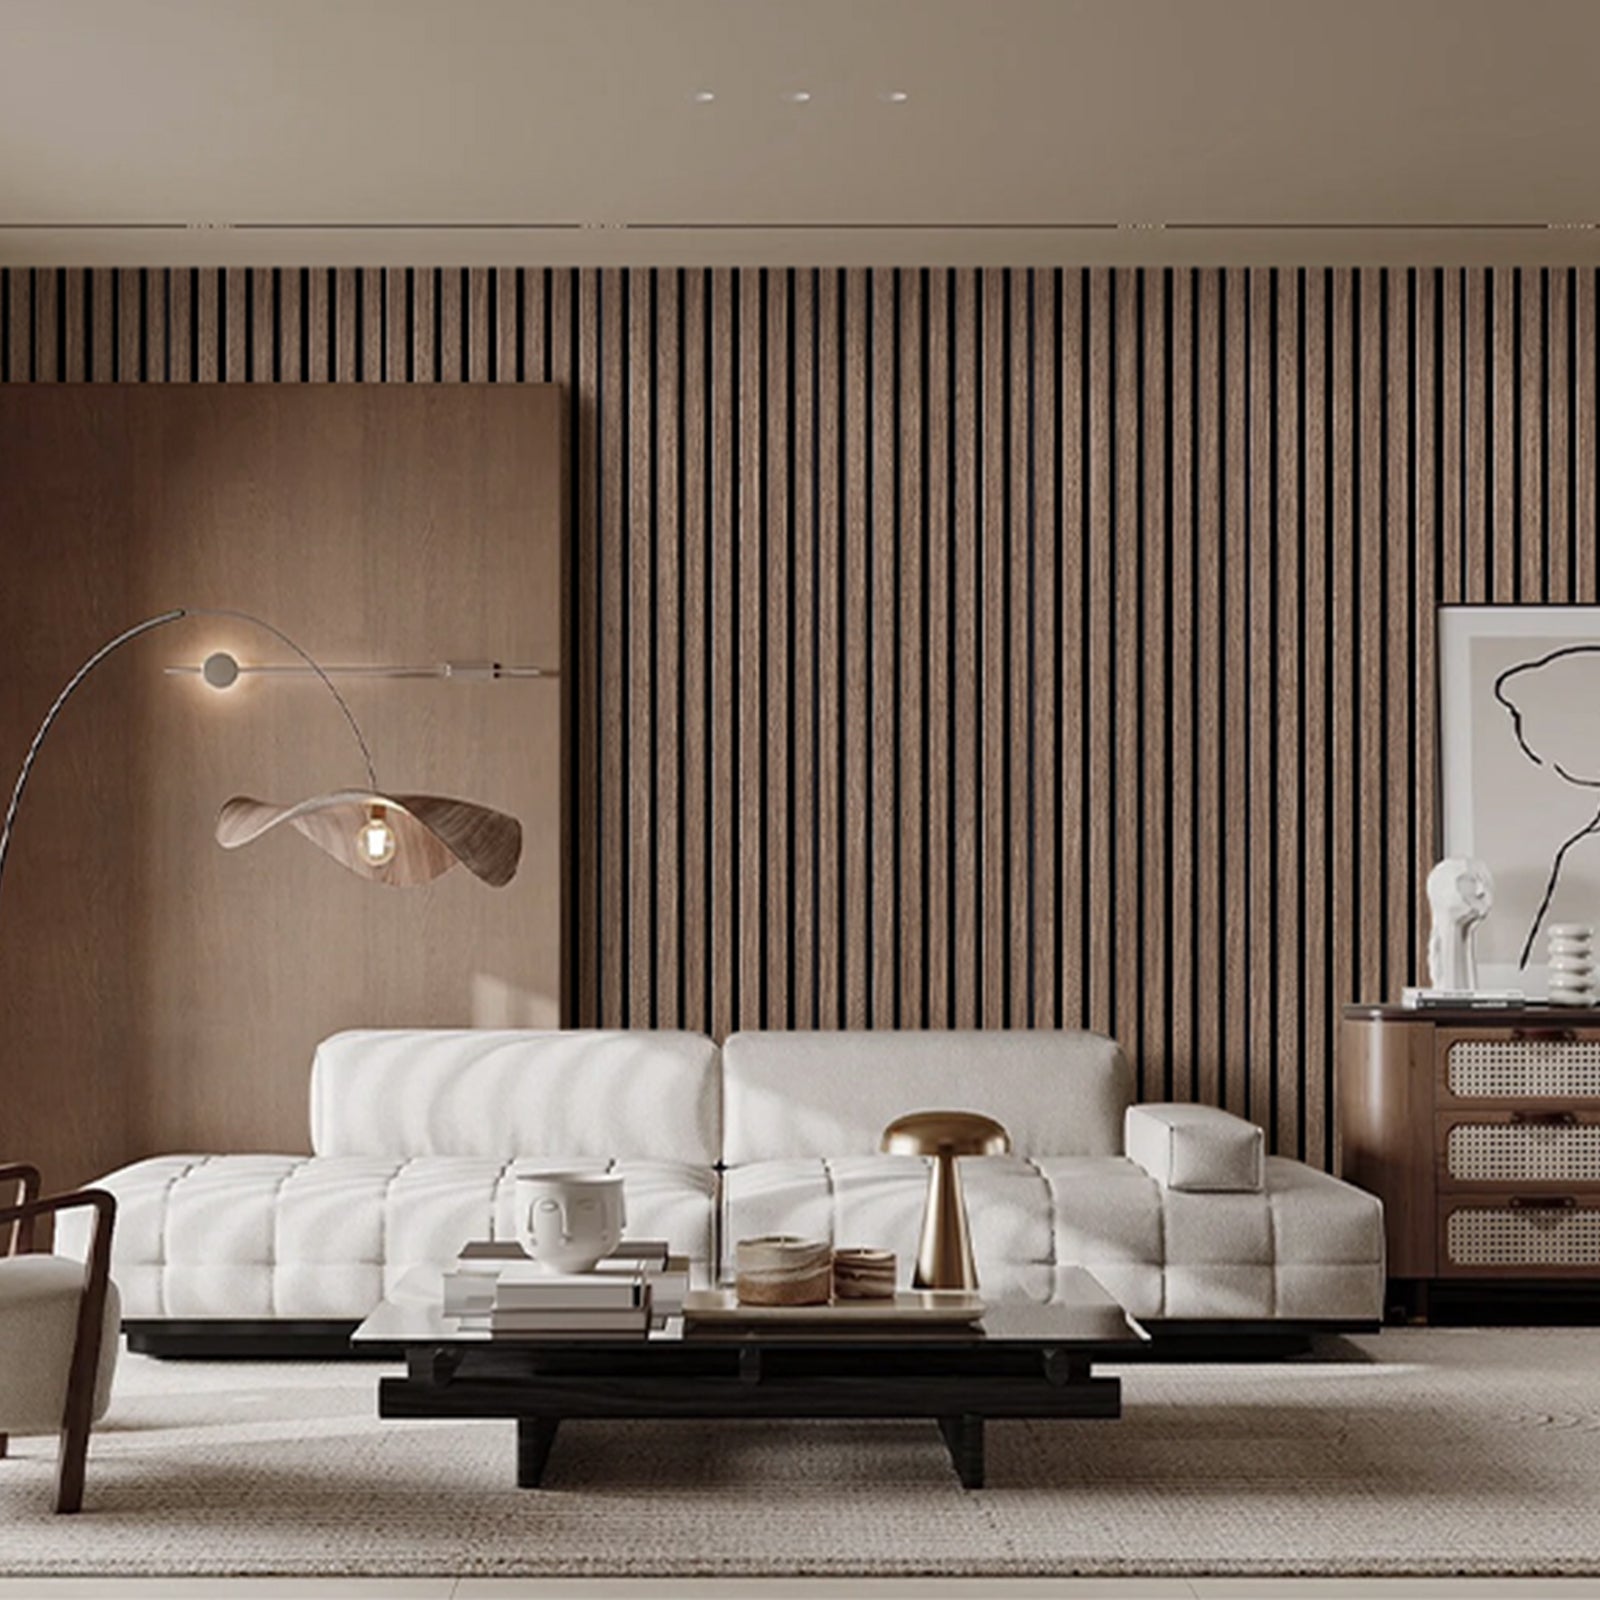
At Unisoar, we provide high-quality wood wall panels that blend style, functionality, and durability. Whether you're looking to add warmth to your living room, improve acoustics in your home office, or create a sophisticated focal point in your entryway, our wood paneling range has the perfect solution for you.
With over 40 years of expertise in the wood products industry, we are proud to offer a variety of wood finishes, including oak, walnut, and reclaimed wood, to match your vision. Ready to start your project? Browse our wood wall paneling range today and take the first step toward transforming your space.