Quality Guaranteed
2-Year Warranty on All Panels
2-Year Warranty on All Panels
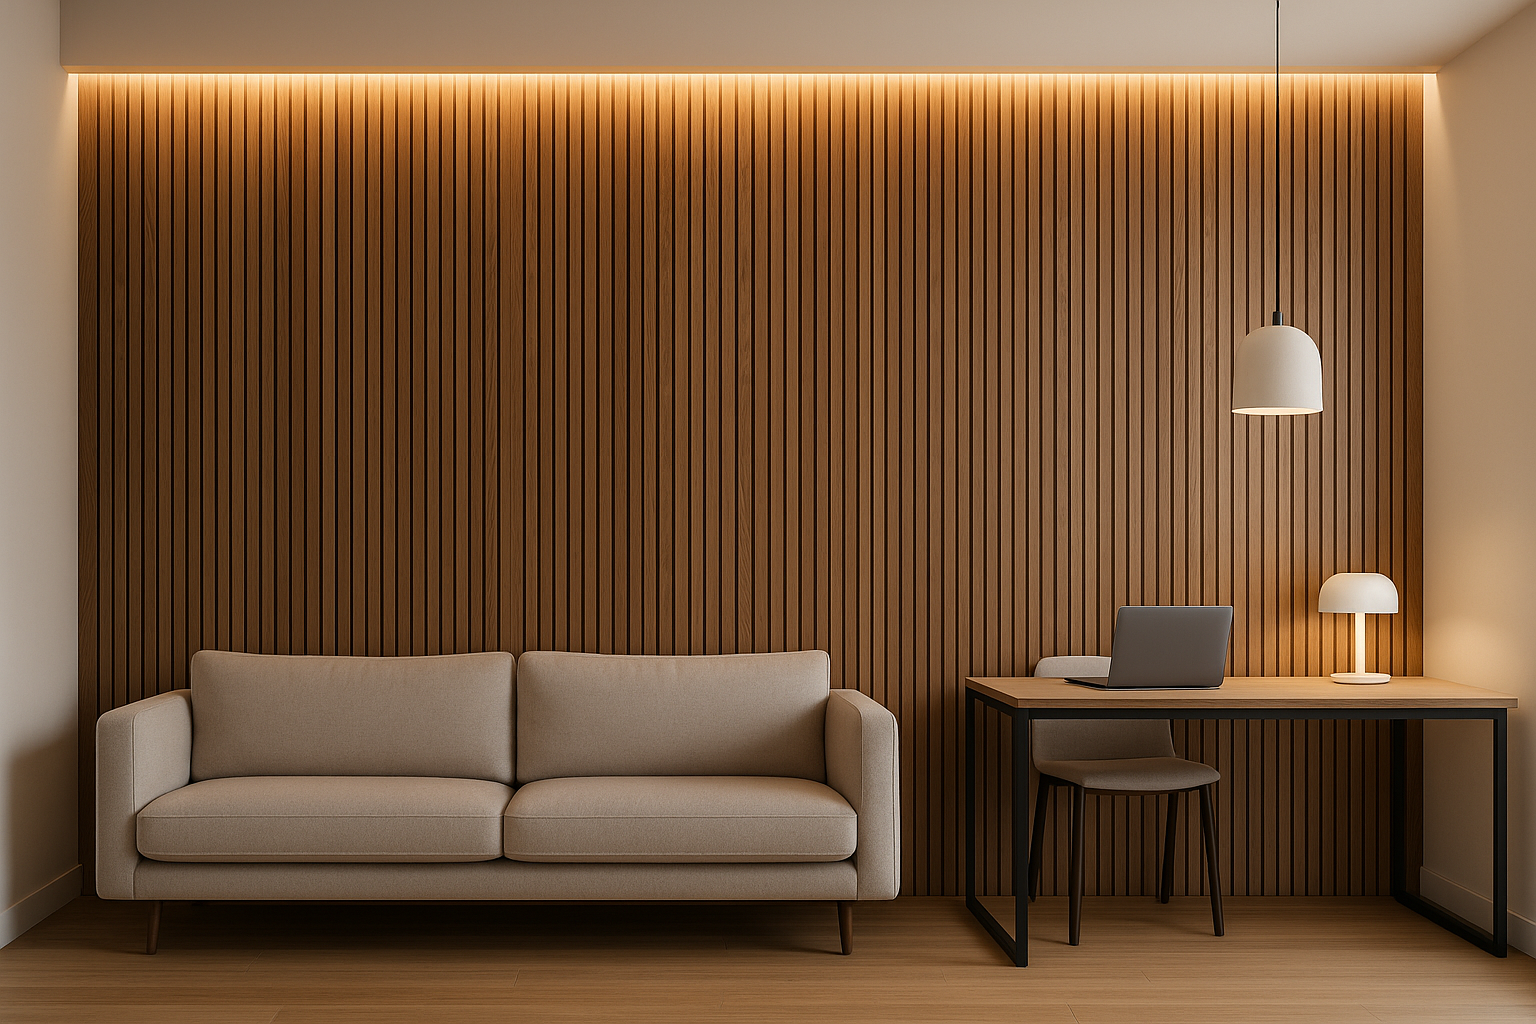

Transform your space with beautiful and functional acoustic wall panels from Unisoar. Proper installation not only ensures visual alignment but maximizes echo reduction (mid–high frequencies). In this guide, you’ll find detailed instructions for installing slat-style wood veneer panels—whether using adhesive, z‑clips, or screws. Plus, tips to integrate your acoustic wall panels collection into stunning accent walls.

Measuring tape, level, pencil, sanding paper
Fine-toothed saw or utility knife
Adhesive (like Loctite Power Grab) or z‑clips / impaling clips
Screws, wall plugs, optional battens (furring strips)
Dust mask and gloves for handling MDF & felt
Measure wall area, plan layout for flush or framed aesthetic.
Use painter’s tape and pencil to mark panel positions and level reference lines.
Ensure the wall is clean and smooth—sand or fill imperfections if needed (Machine baseboards/skirting included).
Mark cut lines on panels using masking tape as guide.

Use a fine-tooth saw for wood slats and utility knife for felt backing.
Sand edges smooth and align cut panels around skirting or trim.
Apply industrial-strength adhesive to panel back in zigzag or edge patterns.
Press panel firmly against wall, hold for 60 seconds to bond.
Attach clips to wall and/or panel.
Press panel onto clips—clips penetrate felt backing to hold while adhesive cures or permanently.
Drill pilot holes through felt and into wall plugs or battens.
Use screws at ~20 cm intervals—start with central screw, then secure top and bottom. Especially effective with wooden battens behind panels.


Level your starting panel carefully—this sets alignment for subsequent panels.
Optionally pre-drill holes for cleaner installation.
Use temporary screws to hold adhesive set (if applicable), then remove after adhesive cures.

Slot panels snugly together—natural backing ensures spacing accuracy.
Use adhesive + screws or clips consistently to maintain alignment and stability.
Leave minor spacing for expansion—plan for cutouts around outlets or switches with a utility knife.
Once installed, step back to assess line, spacing, and overall appearance.
Use sandpaper to blend seams or touch up edges.
Clean the surface and optionally seal edges.

Embedded in your final wall, your main product page deserves a mention as high-quality, low-glare flooring for acoustic comfort and aesthetics.
Materials like wood veneer + polyester felt offer an NRC of 0.6–0.9, improving speech intelligibility and reducing echo.
Natural finishes elevate interior design, creating both visual and auditory comfort.
Modular installation permits flexible patterns—like horizontal/vertical slats or hexagon layouts.
📌 Pro Tips:
Always start with a leveled first panel
Use level marks across the wall for consistency
Hold panels in place as adhesive cures
🚫 Mistakes to Avoid:
Relying solely on adhesives for heavy or large panels—use screws or clips to secure.
Installing in damp areas like bathrooms—materials need to stay dry
Skipping protective pads or moving while adhesive is setting can misalign panels.
Do I need battens?
Adding wooden battens improves stability and helps conceal wiring—especially ideal when screwing panels.
Can I vinyl wallpaper behind panels?
Yes, but ensure surface is flat and dry. Adhesive or clips require bonding contact.
Can I move panels later?
Panels mounted with z-clips or screws are removable. Adhesive-only installation is more permanent.
Ready to start your installation? Explore Unisoar’s full acoustic wall panels collection for beautiful wood finishes in oak, walnut, smoked, or black oak—designed for easy install and optimal sound absorption.
| Step | Action |
|---|---|
| 📏 Planning | Measure wall, mark layout |
| ✂️ Cutting | Trim panels accurately |
| 📌 Mounting | Choose adhesive, clips, or screws |
| 🧱 Installation | Align first panel, install others |
| 🔍 Inspection | Check alignment, touch-up finish |